One of the hardest things about keeping your succulents alive is making sure they have the correct amount of drainage. Too much water and their roots rot, not enough water they wilt and die. As someone who keeps orchids, I know that it's especially hard to make sure that water doesn't build up in the bottoms of my planters. One trick I learned to ensure that there is enough drainage, without getting soil everywhere, is to give the planter a traditional bonsai drainage set up. These planters have large holes at the bottom, so that water can drain out quickly, while having a mesh and wire set up that stops any debris from falling out. Here are the steps to fix up your own planter with large drainage holes. If you start to get lost and need some visual help, I've added step by step photos at the bottom that should help you out.

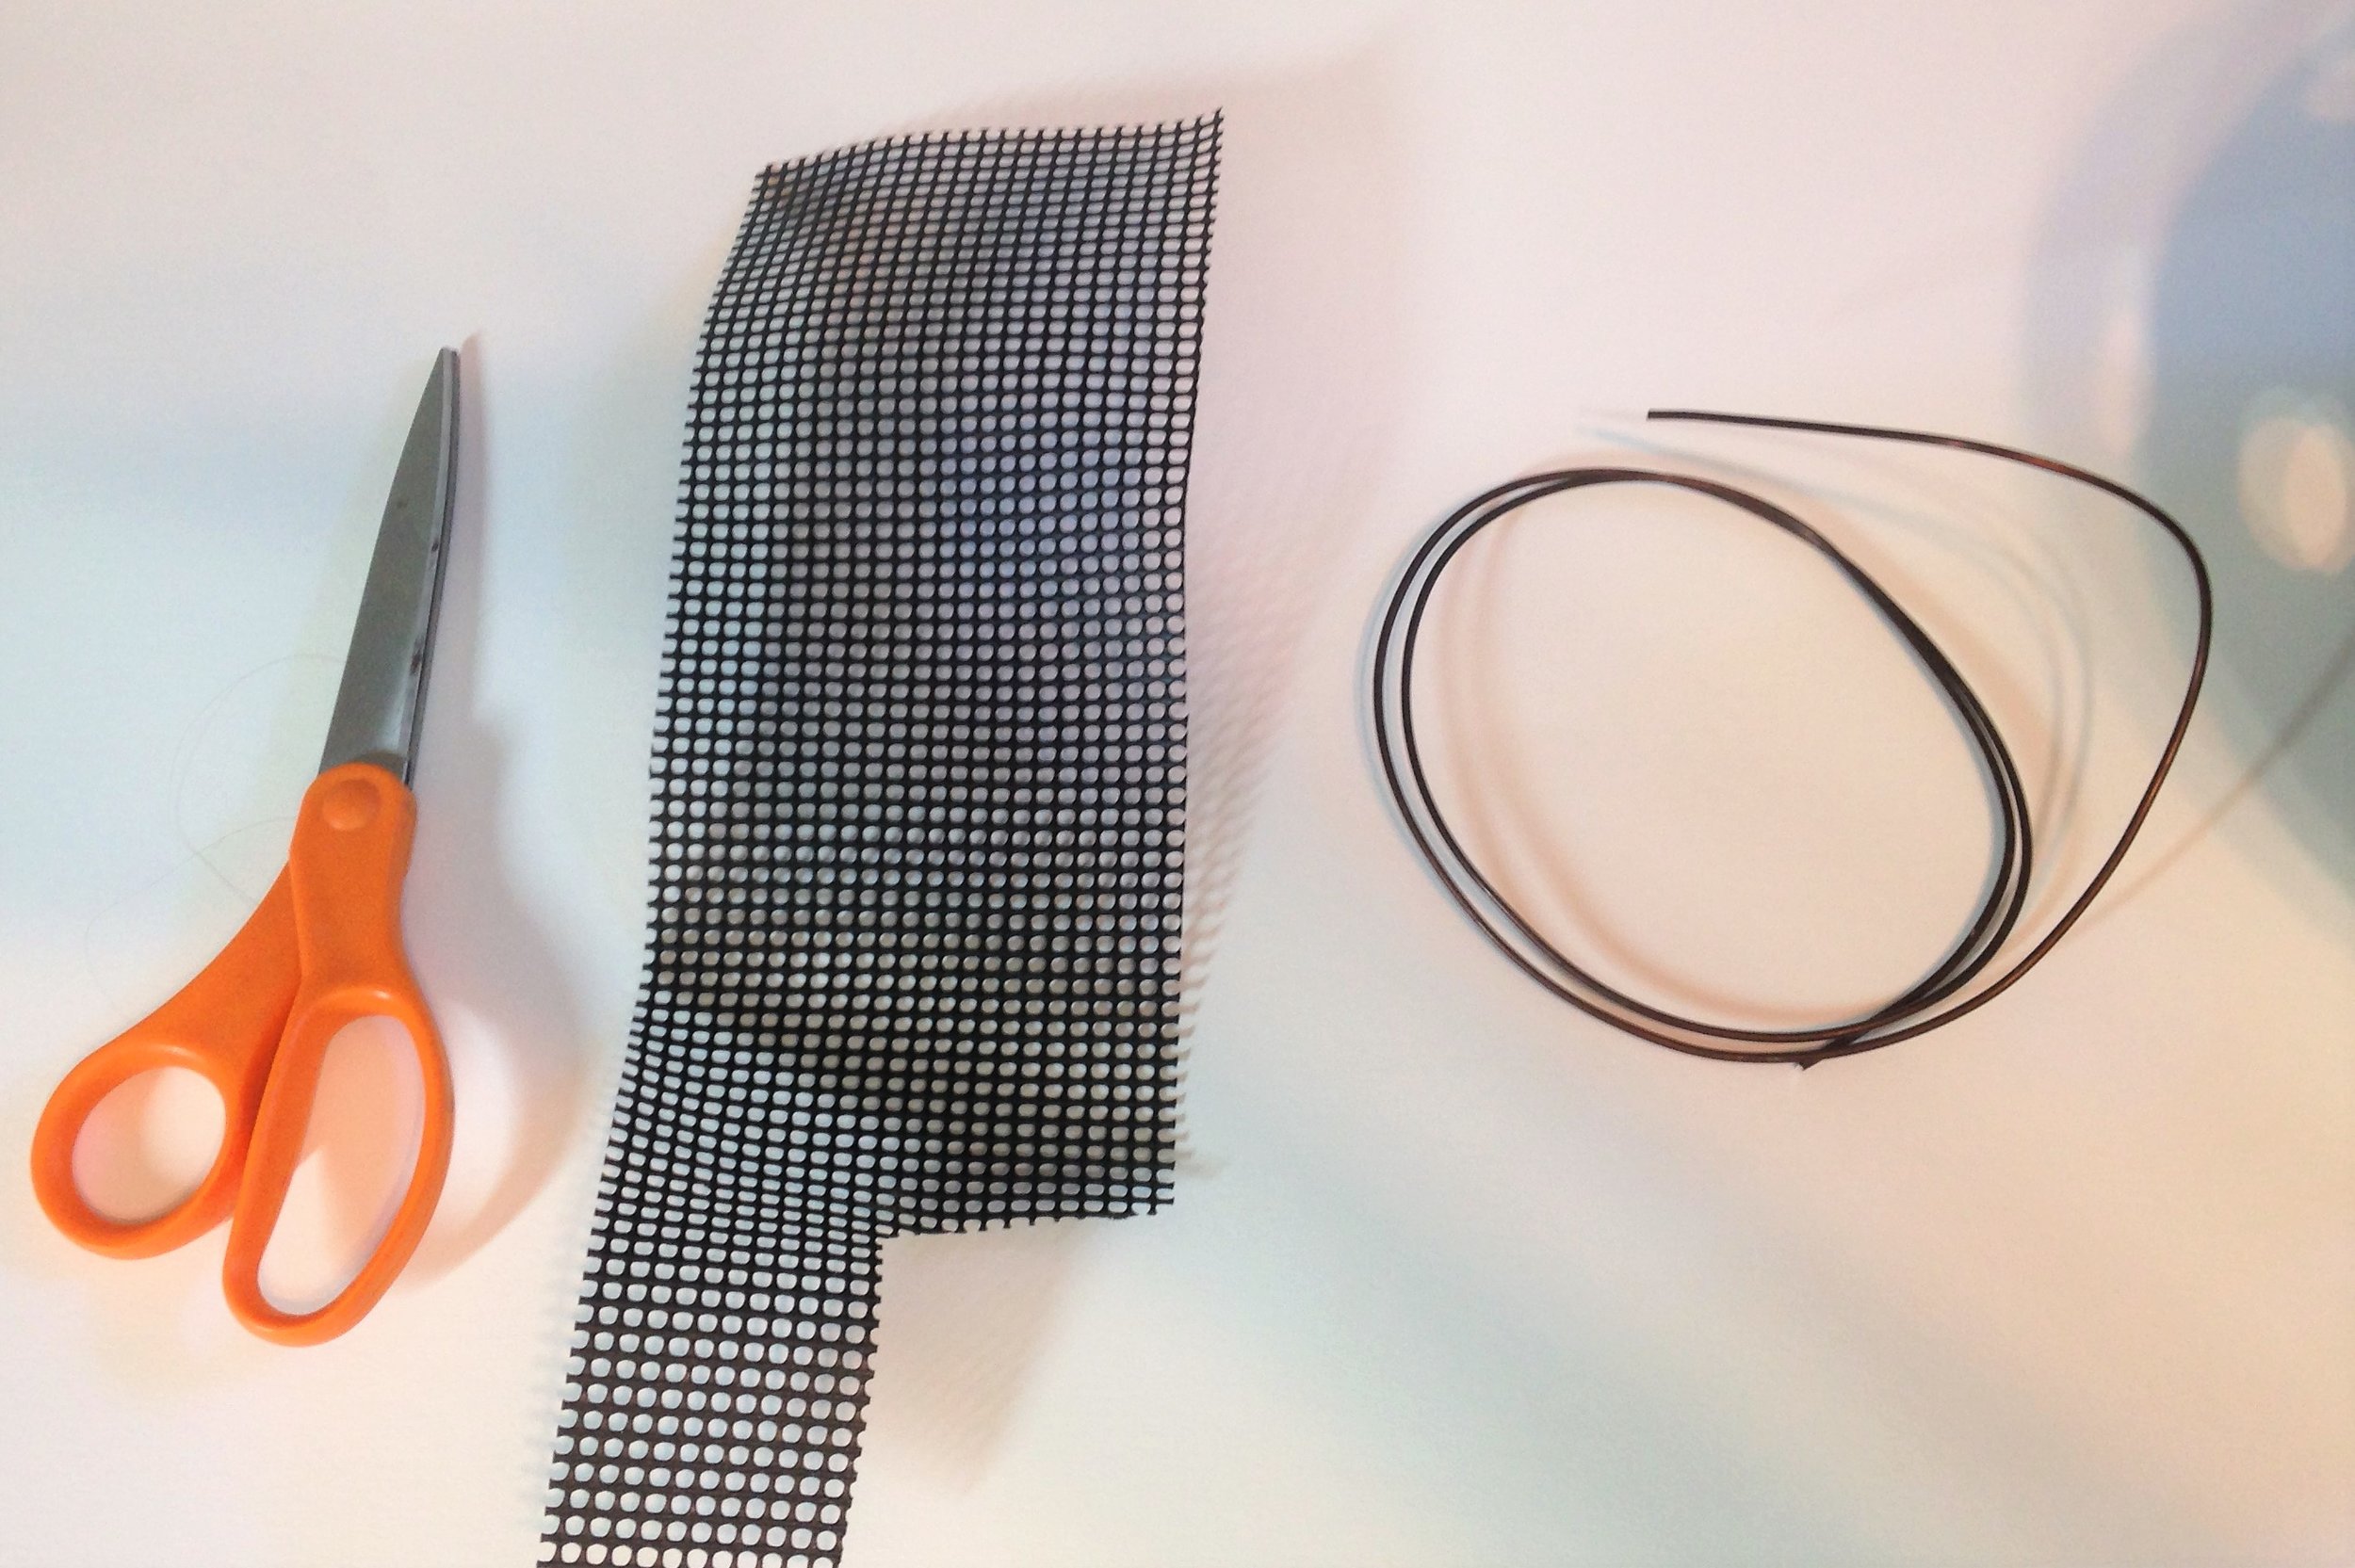
You will need:
- A pair of scissors
- Plastic mesh
- Copper wire
- Ruler
- Planter with large drainage holes
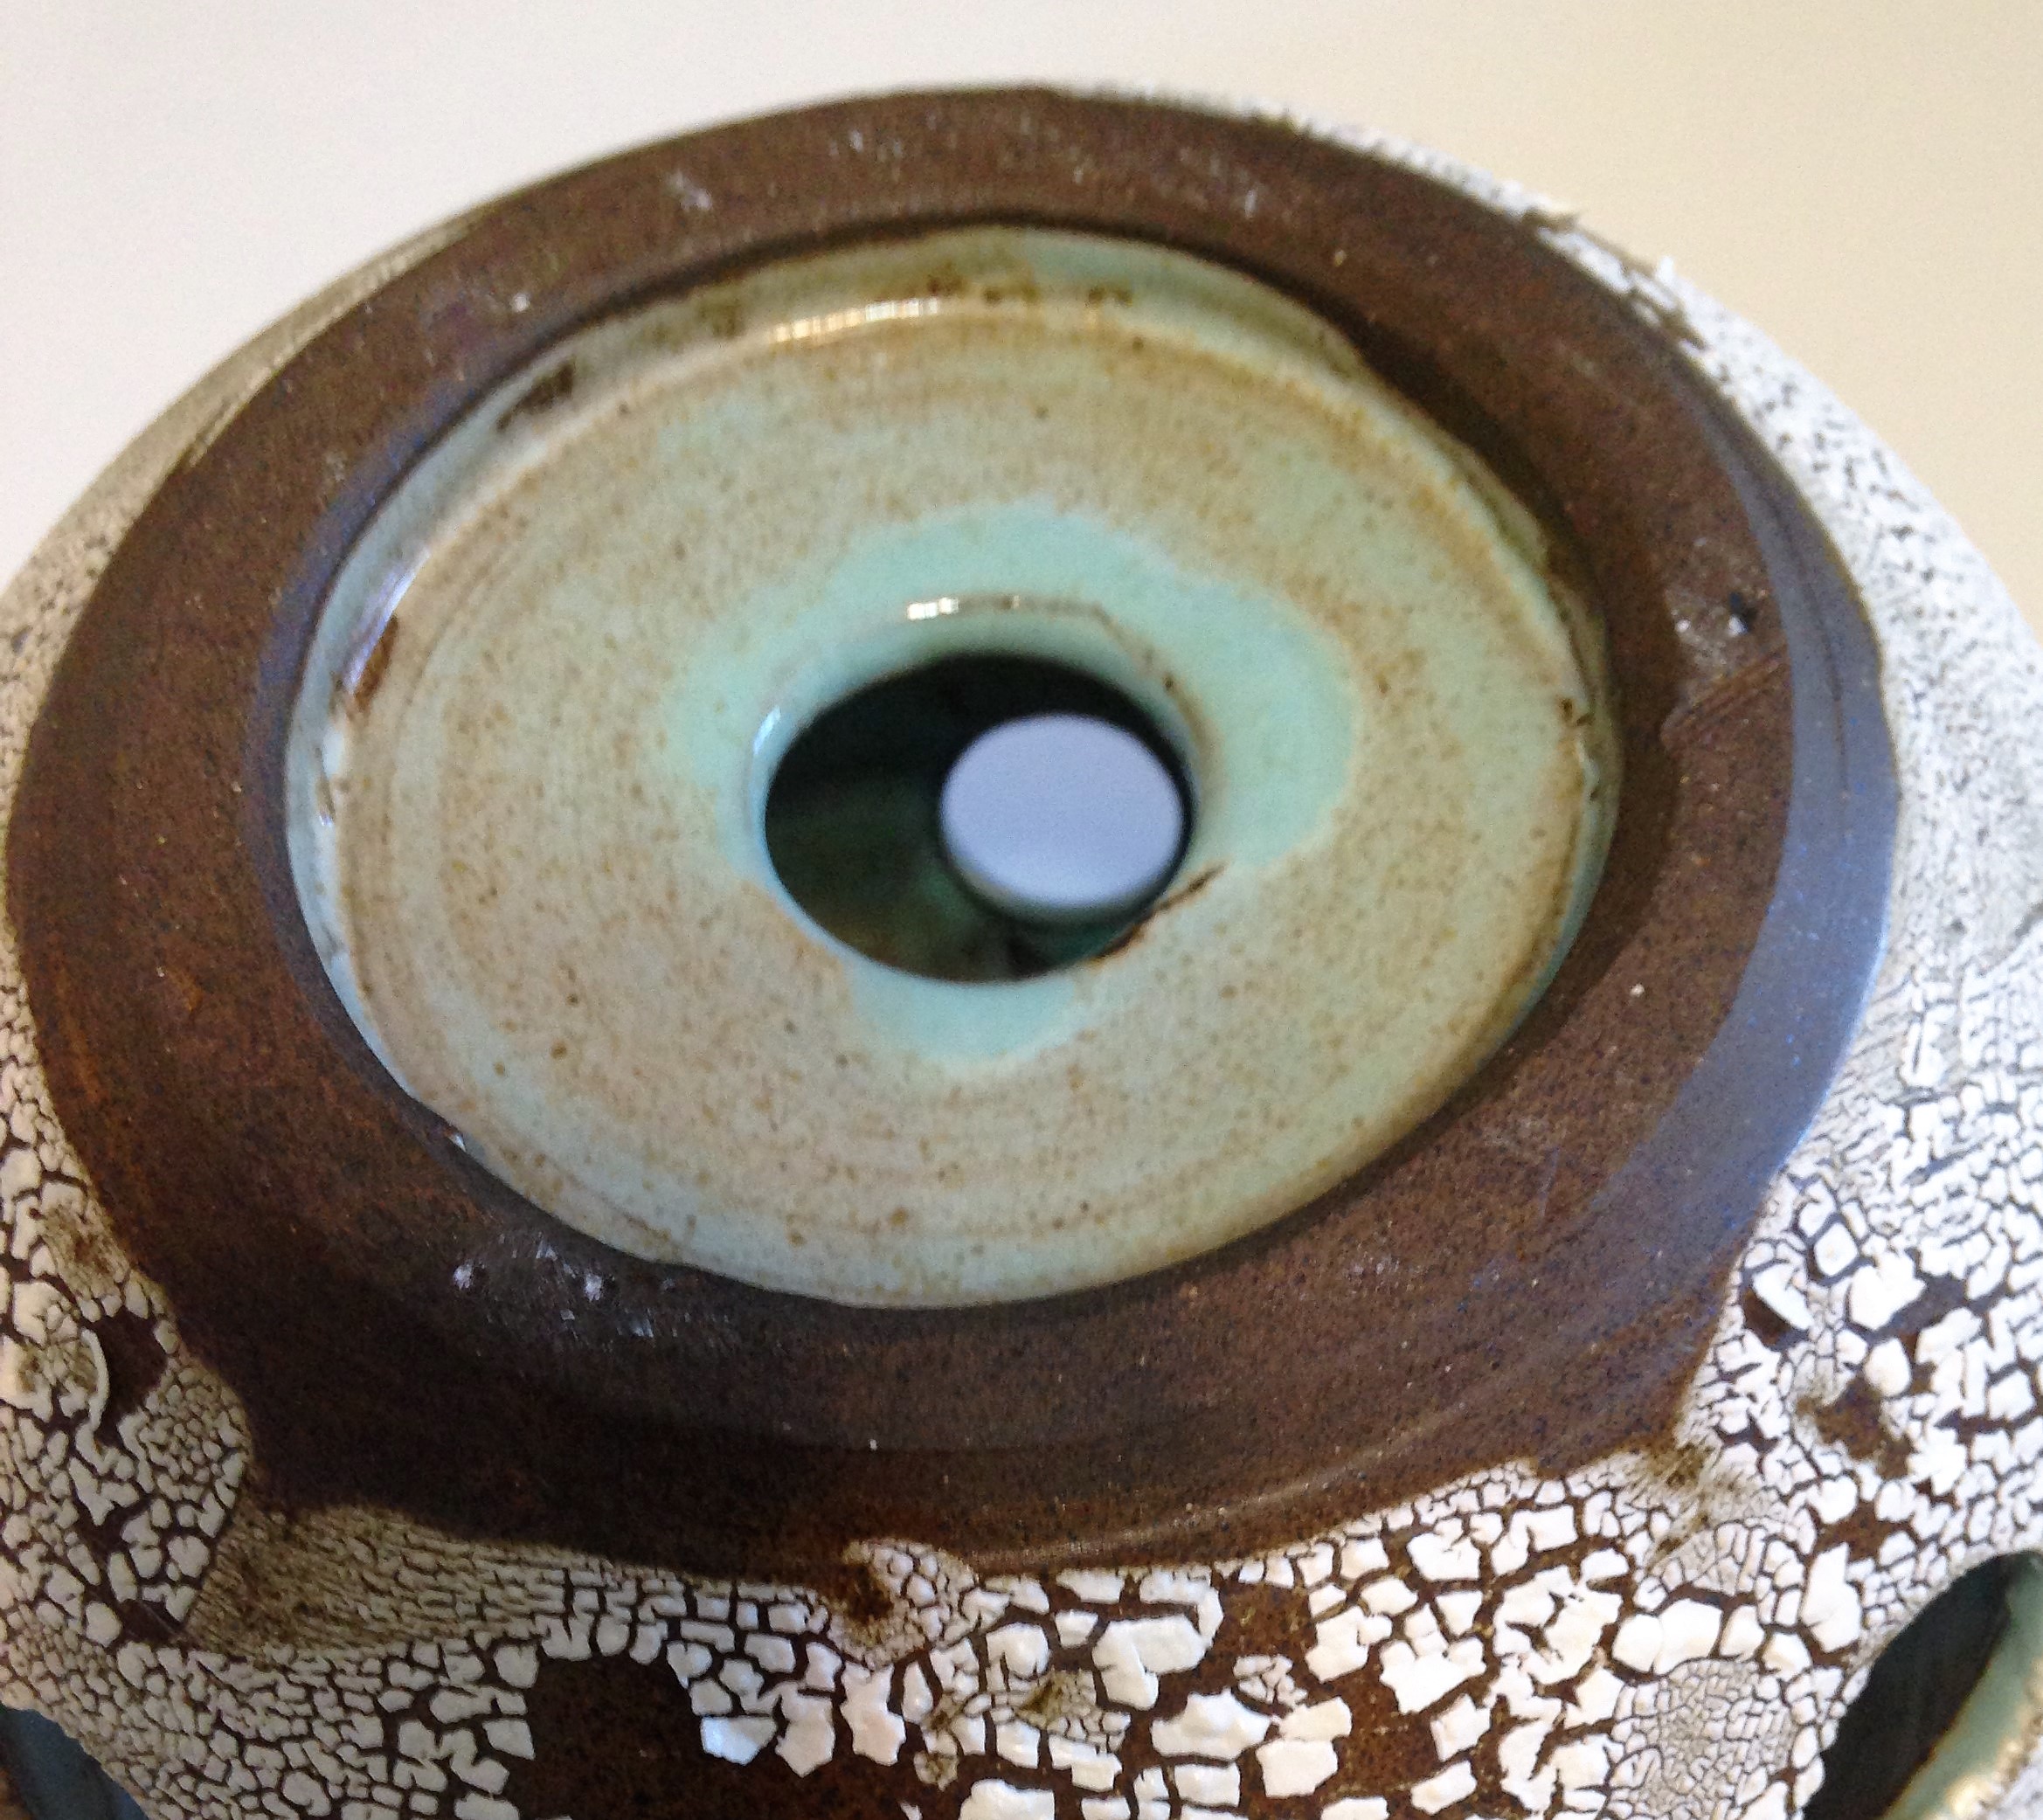
Step One: Measure the plastic mesh against the hole in the bottom of your ceramic planter. You will want the mesh to be bigger than the hole, so that it stays in place and doesn't fall through.
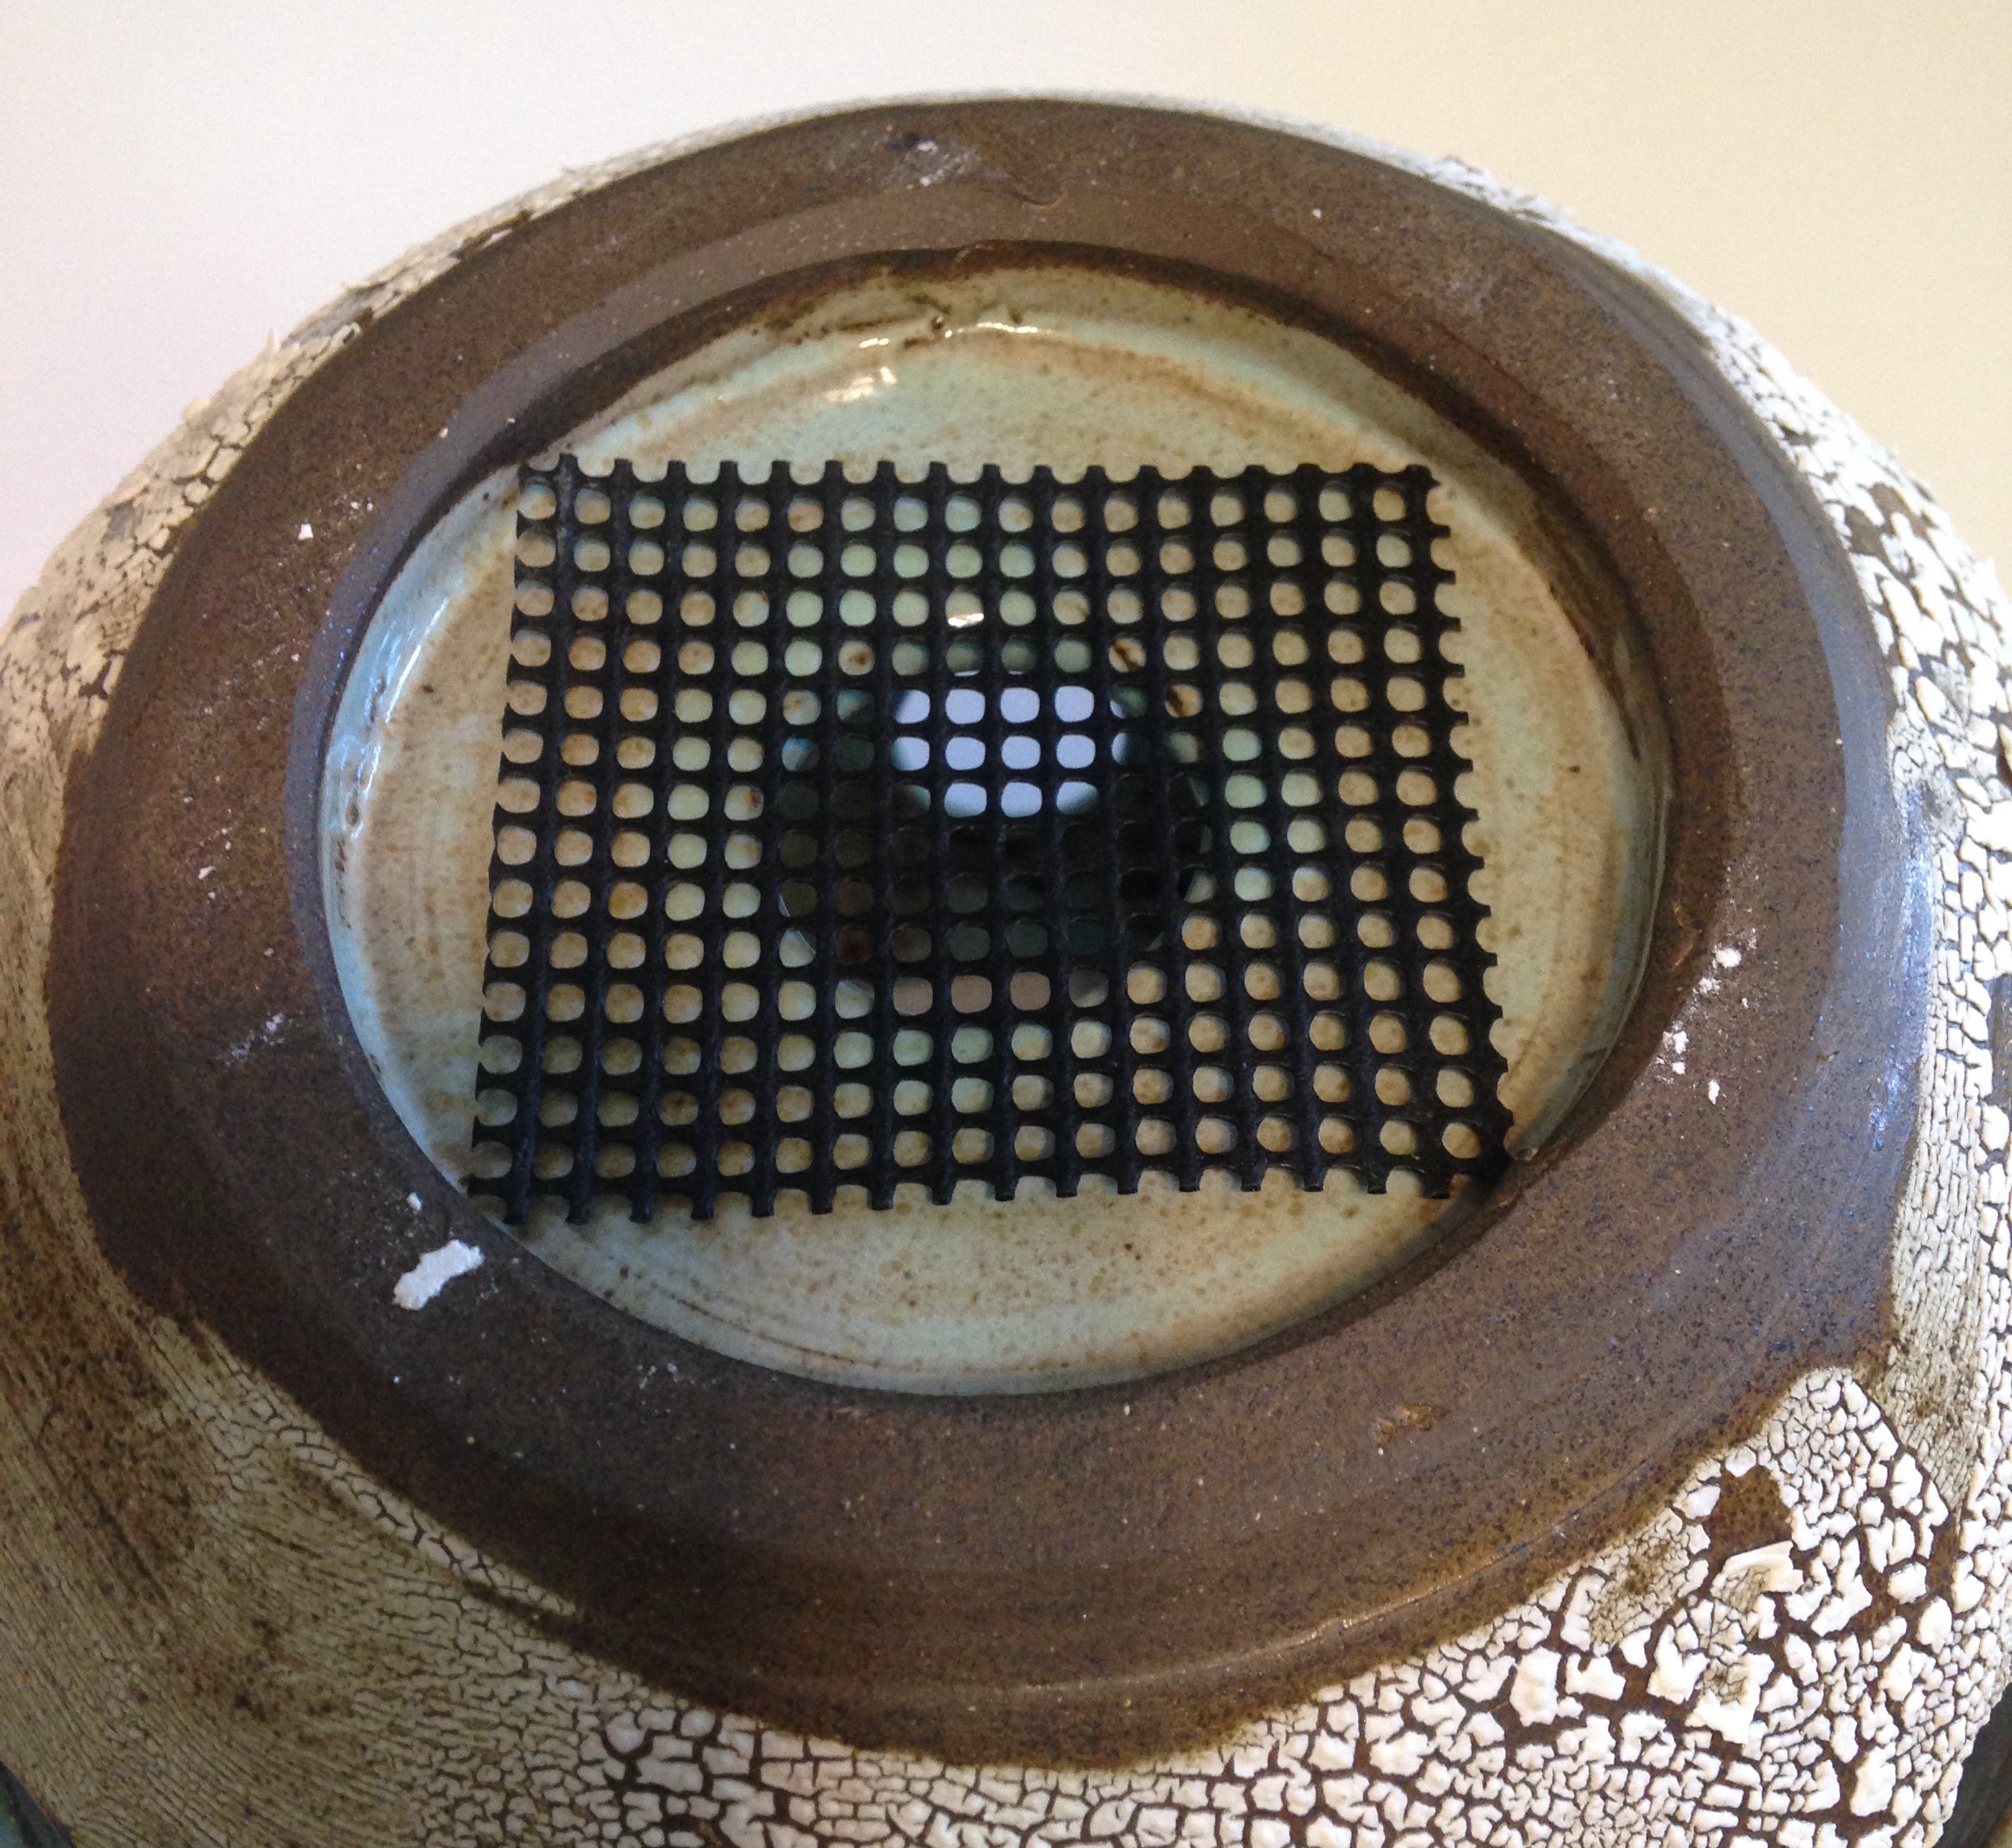
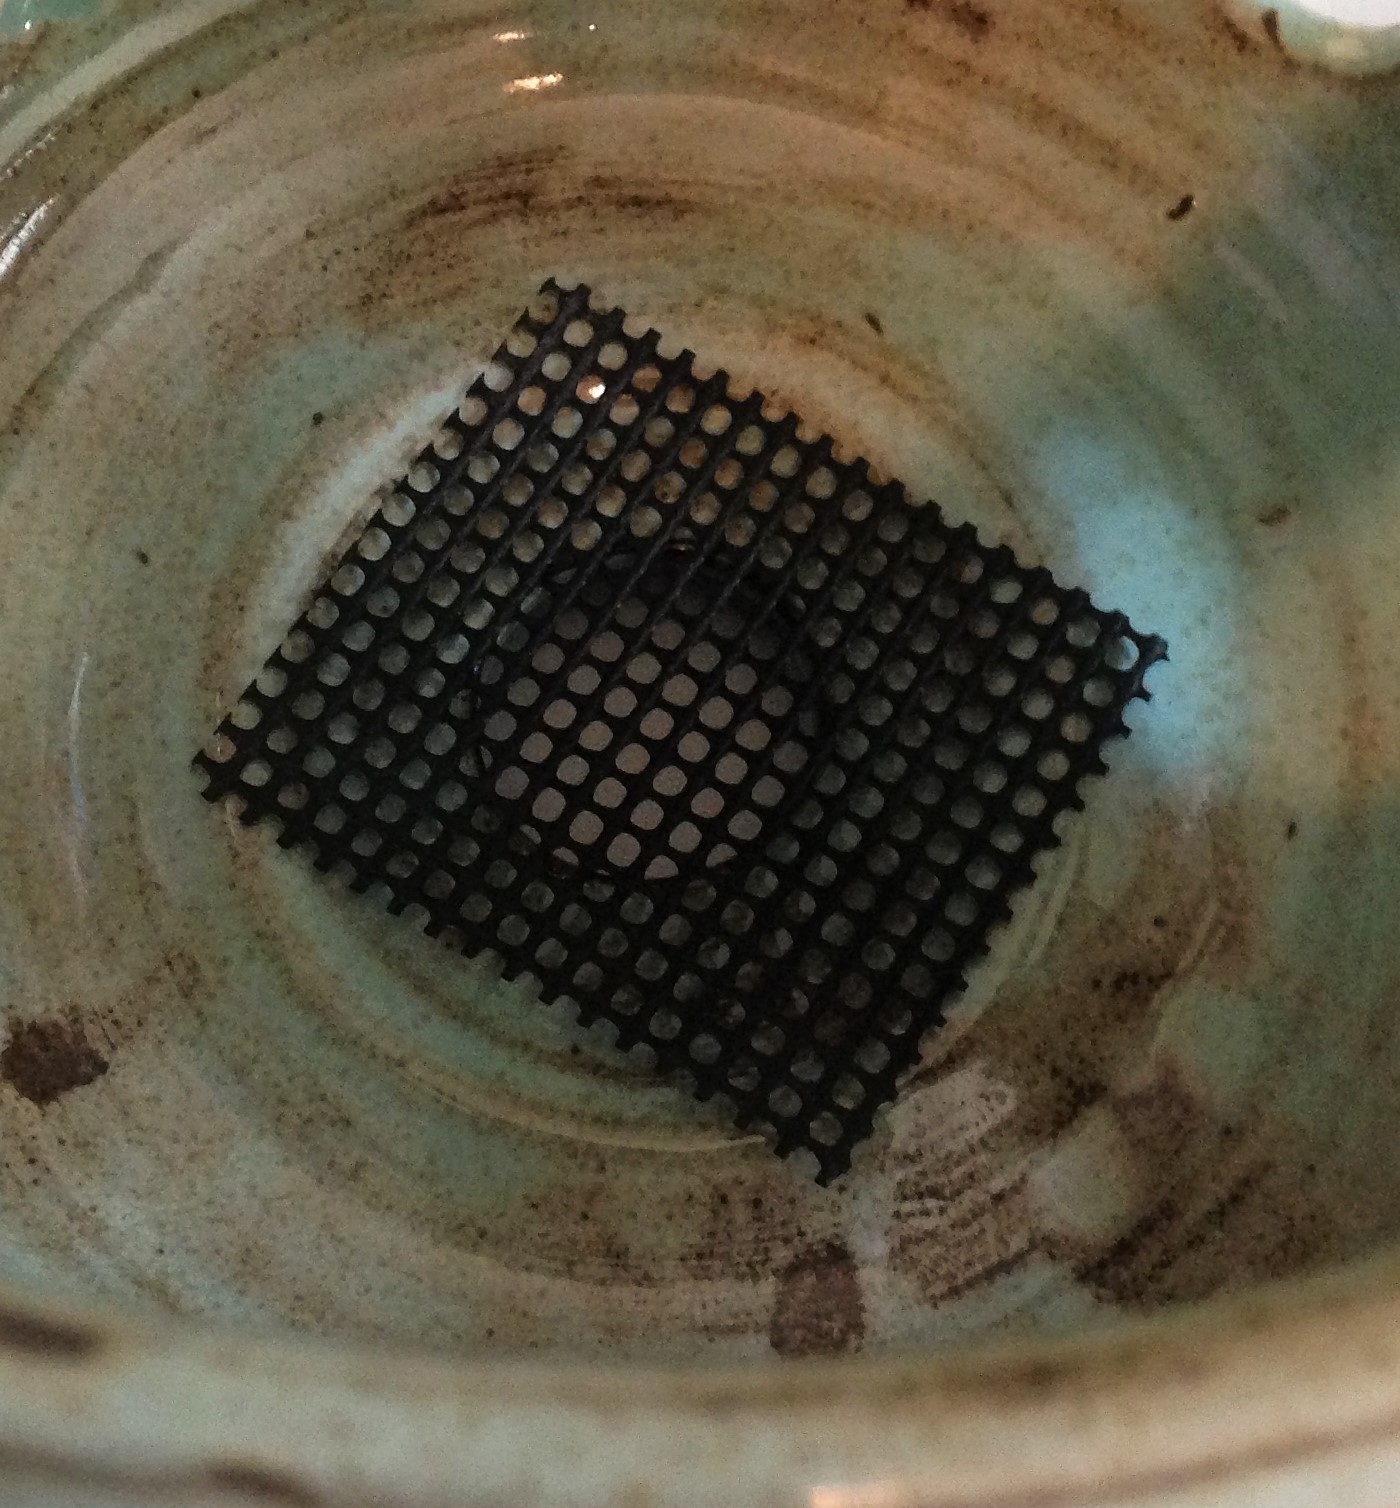
Step Two: Cut a square of mesh that fits comfortably in the bottom of the foot ring. The mesh will be going inside of the planter; however by making sure that it fits within the foot ring, you ensure that it will fit perfectly flat in your planter.
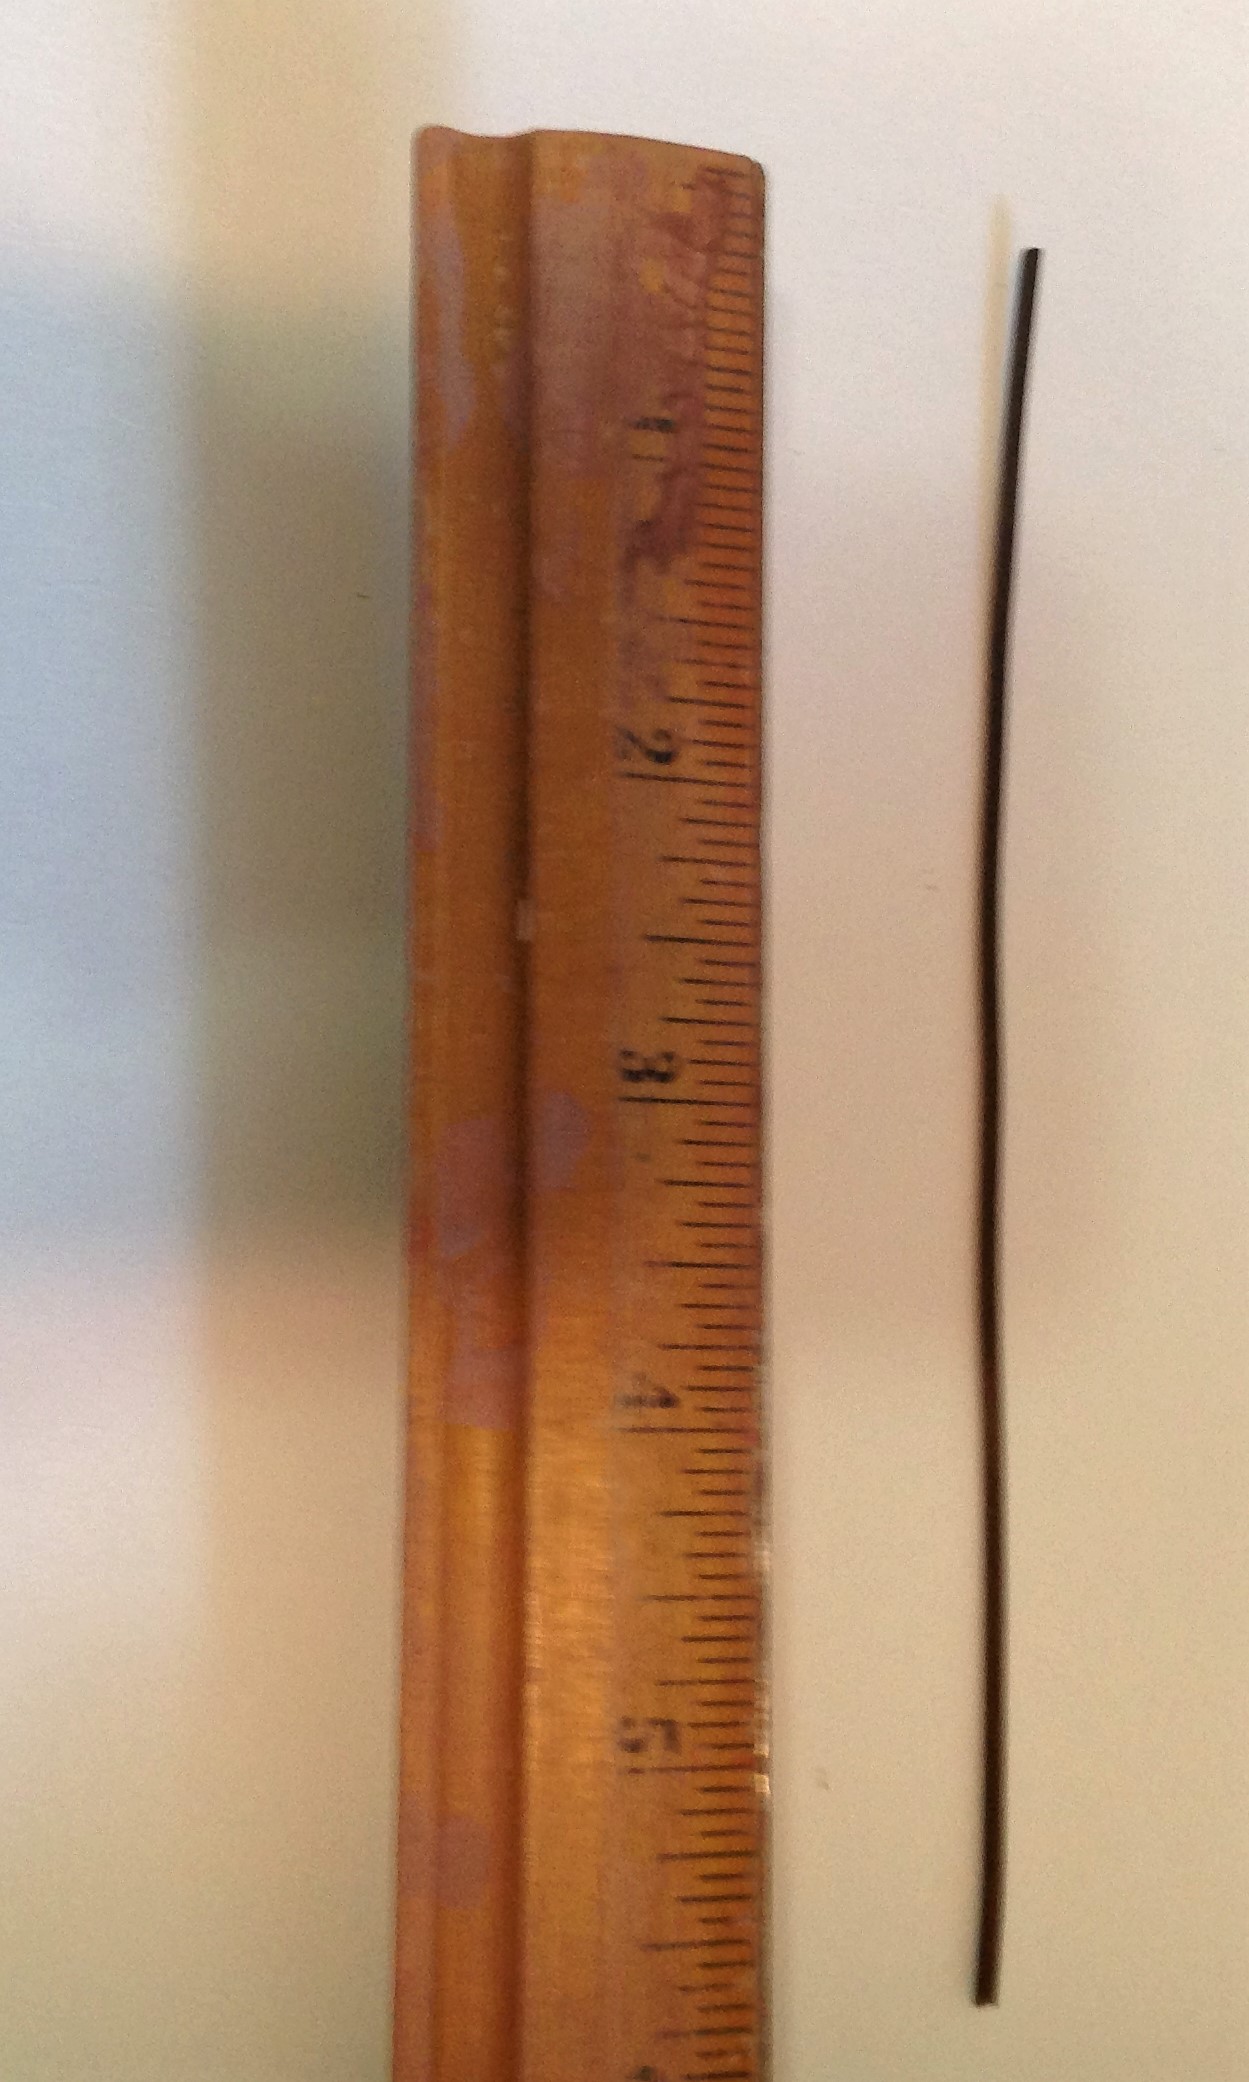
Step Three: Cut a piece of copper wire about 6" long. For this planter, I have a 1" drainage hole. If you have a hole that is bigger you can do 8" - 10" long piece of wire for extra clearance and then just trim off any excess.
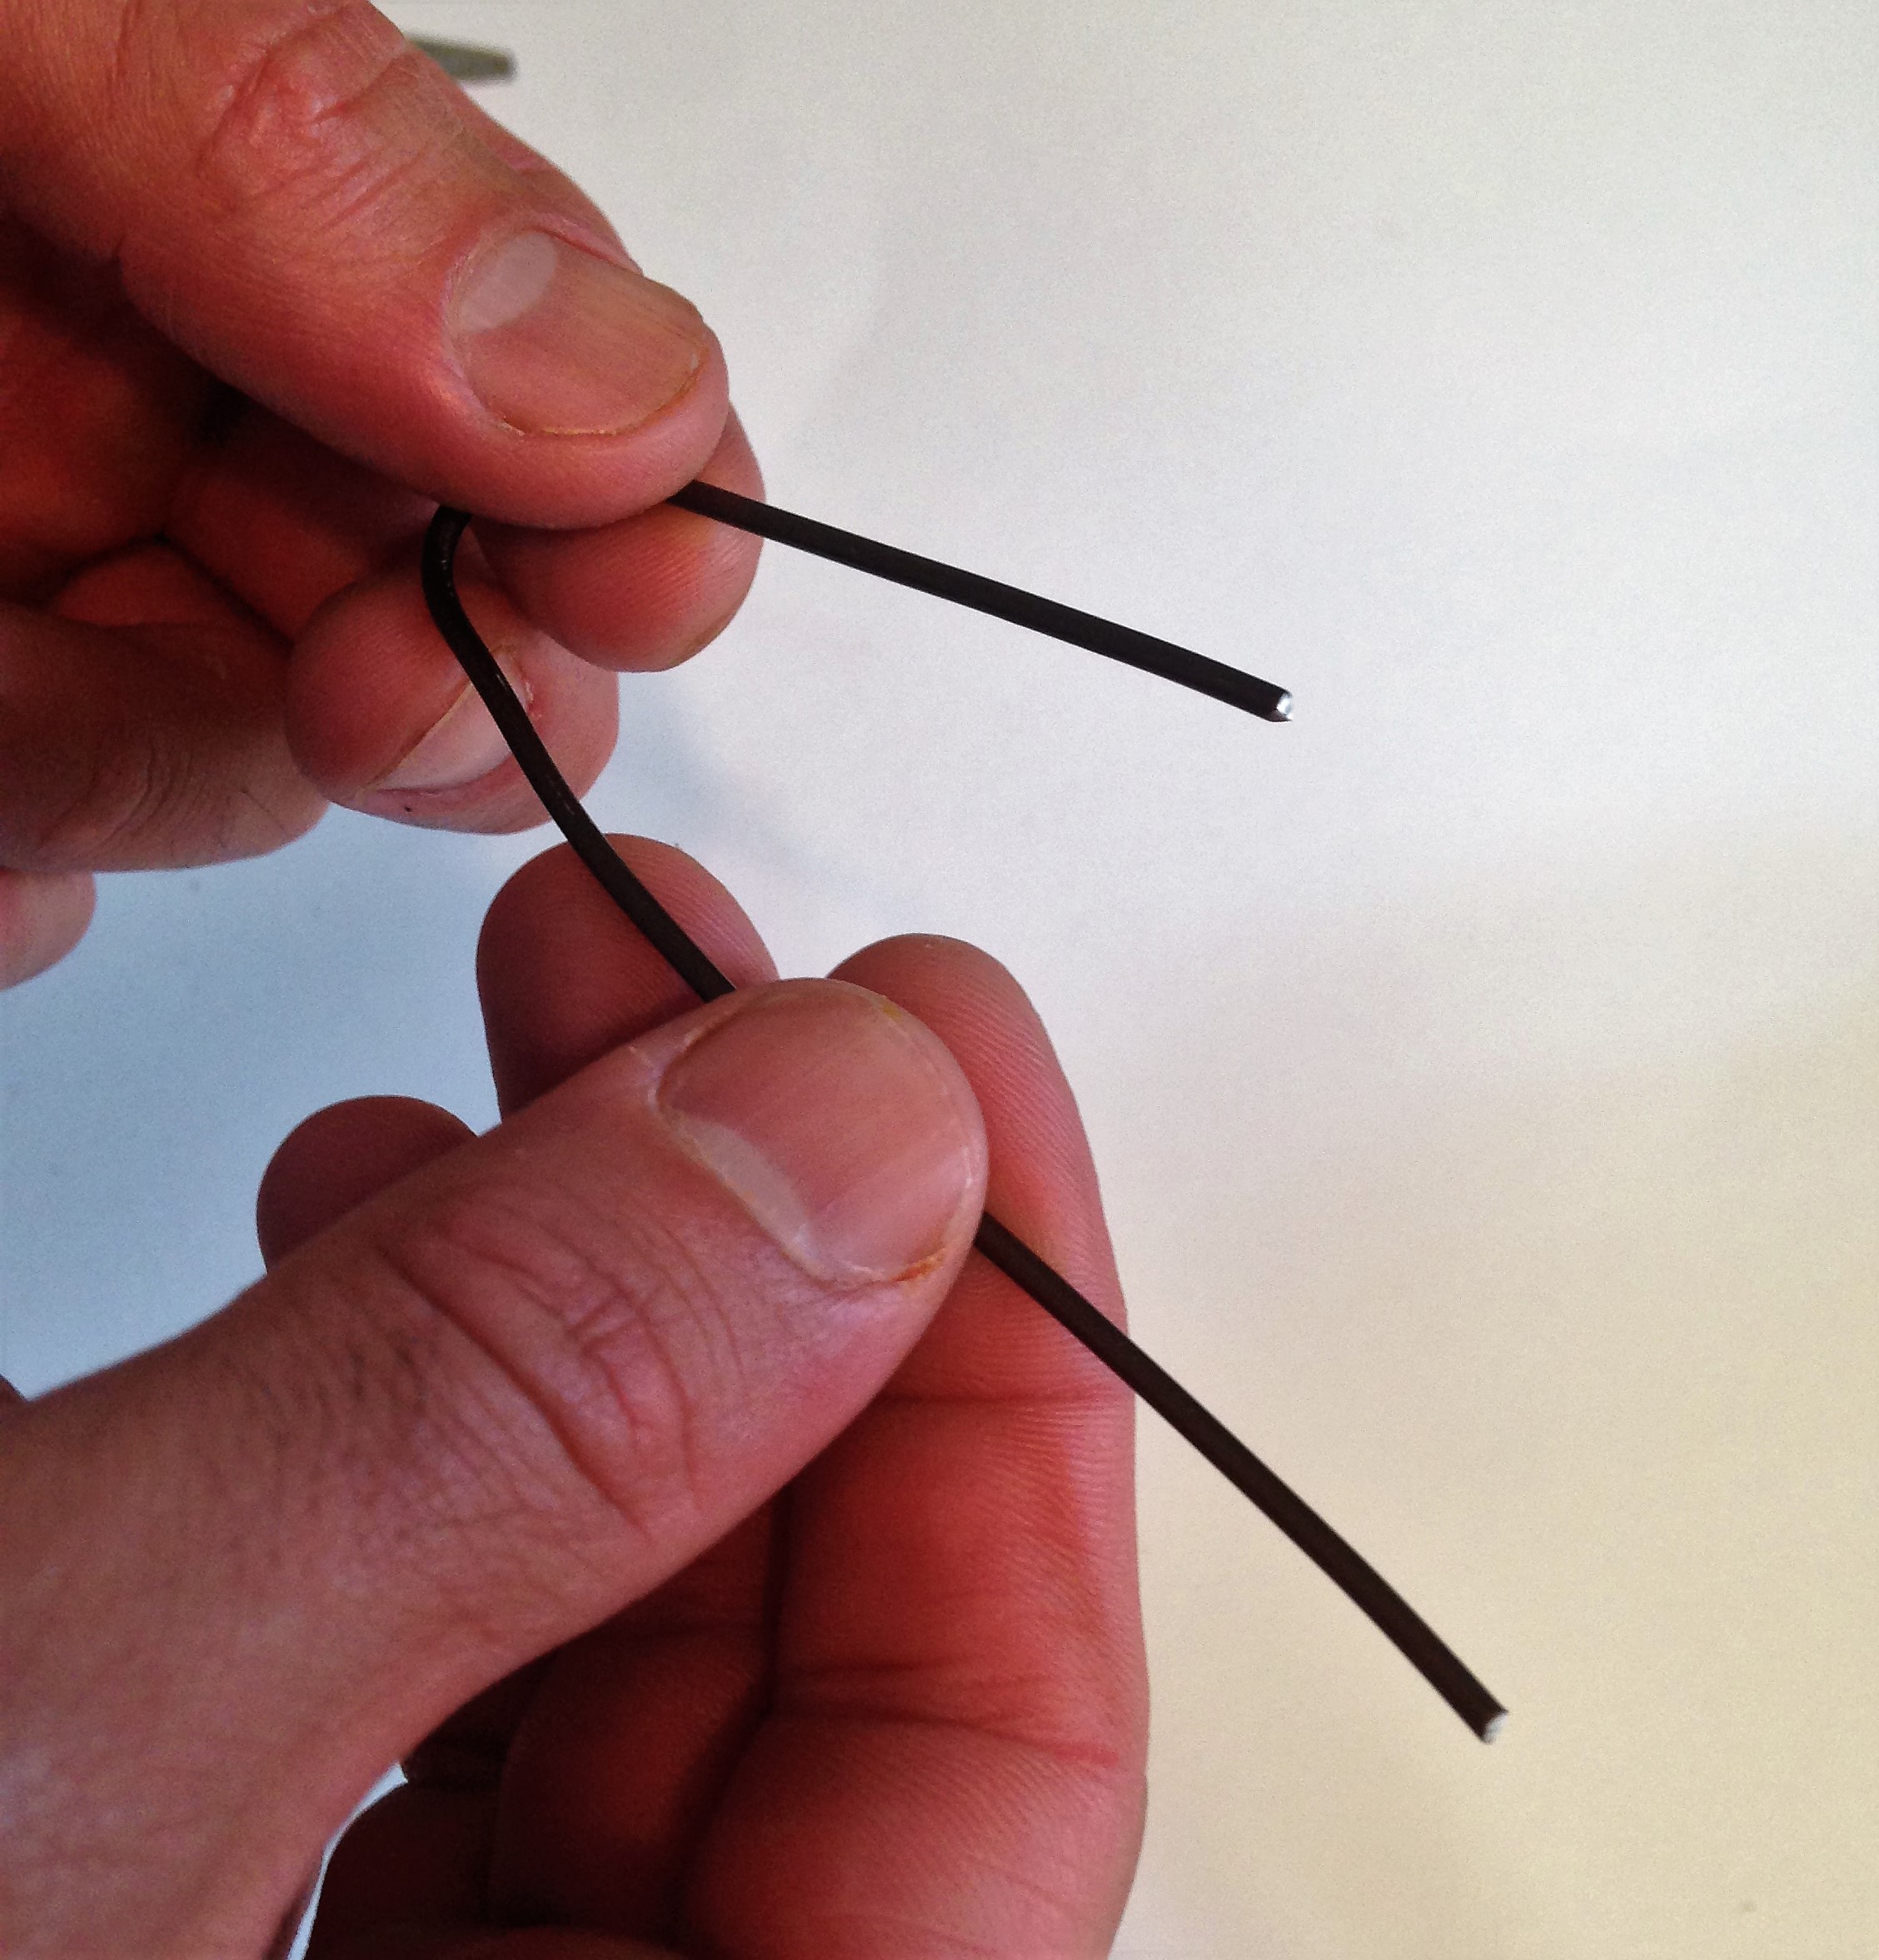
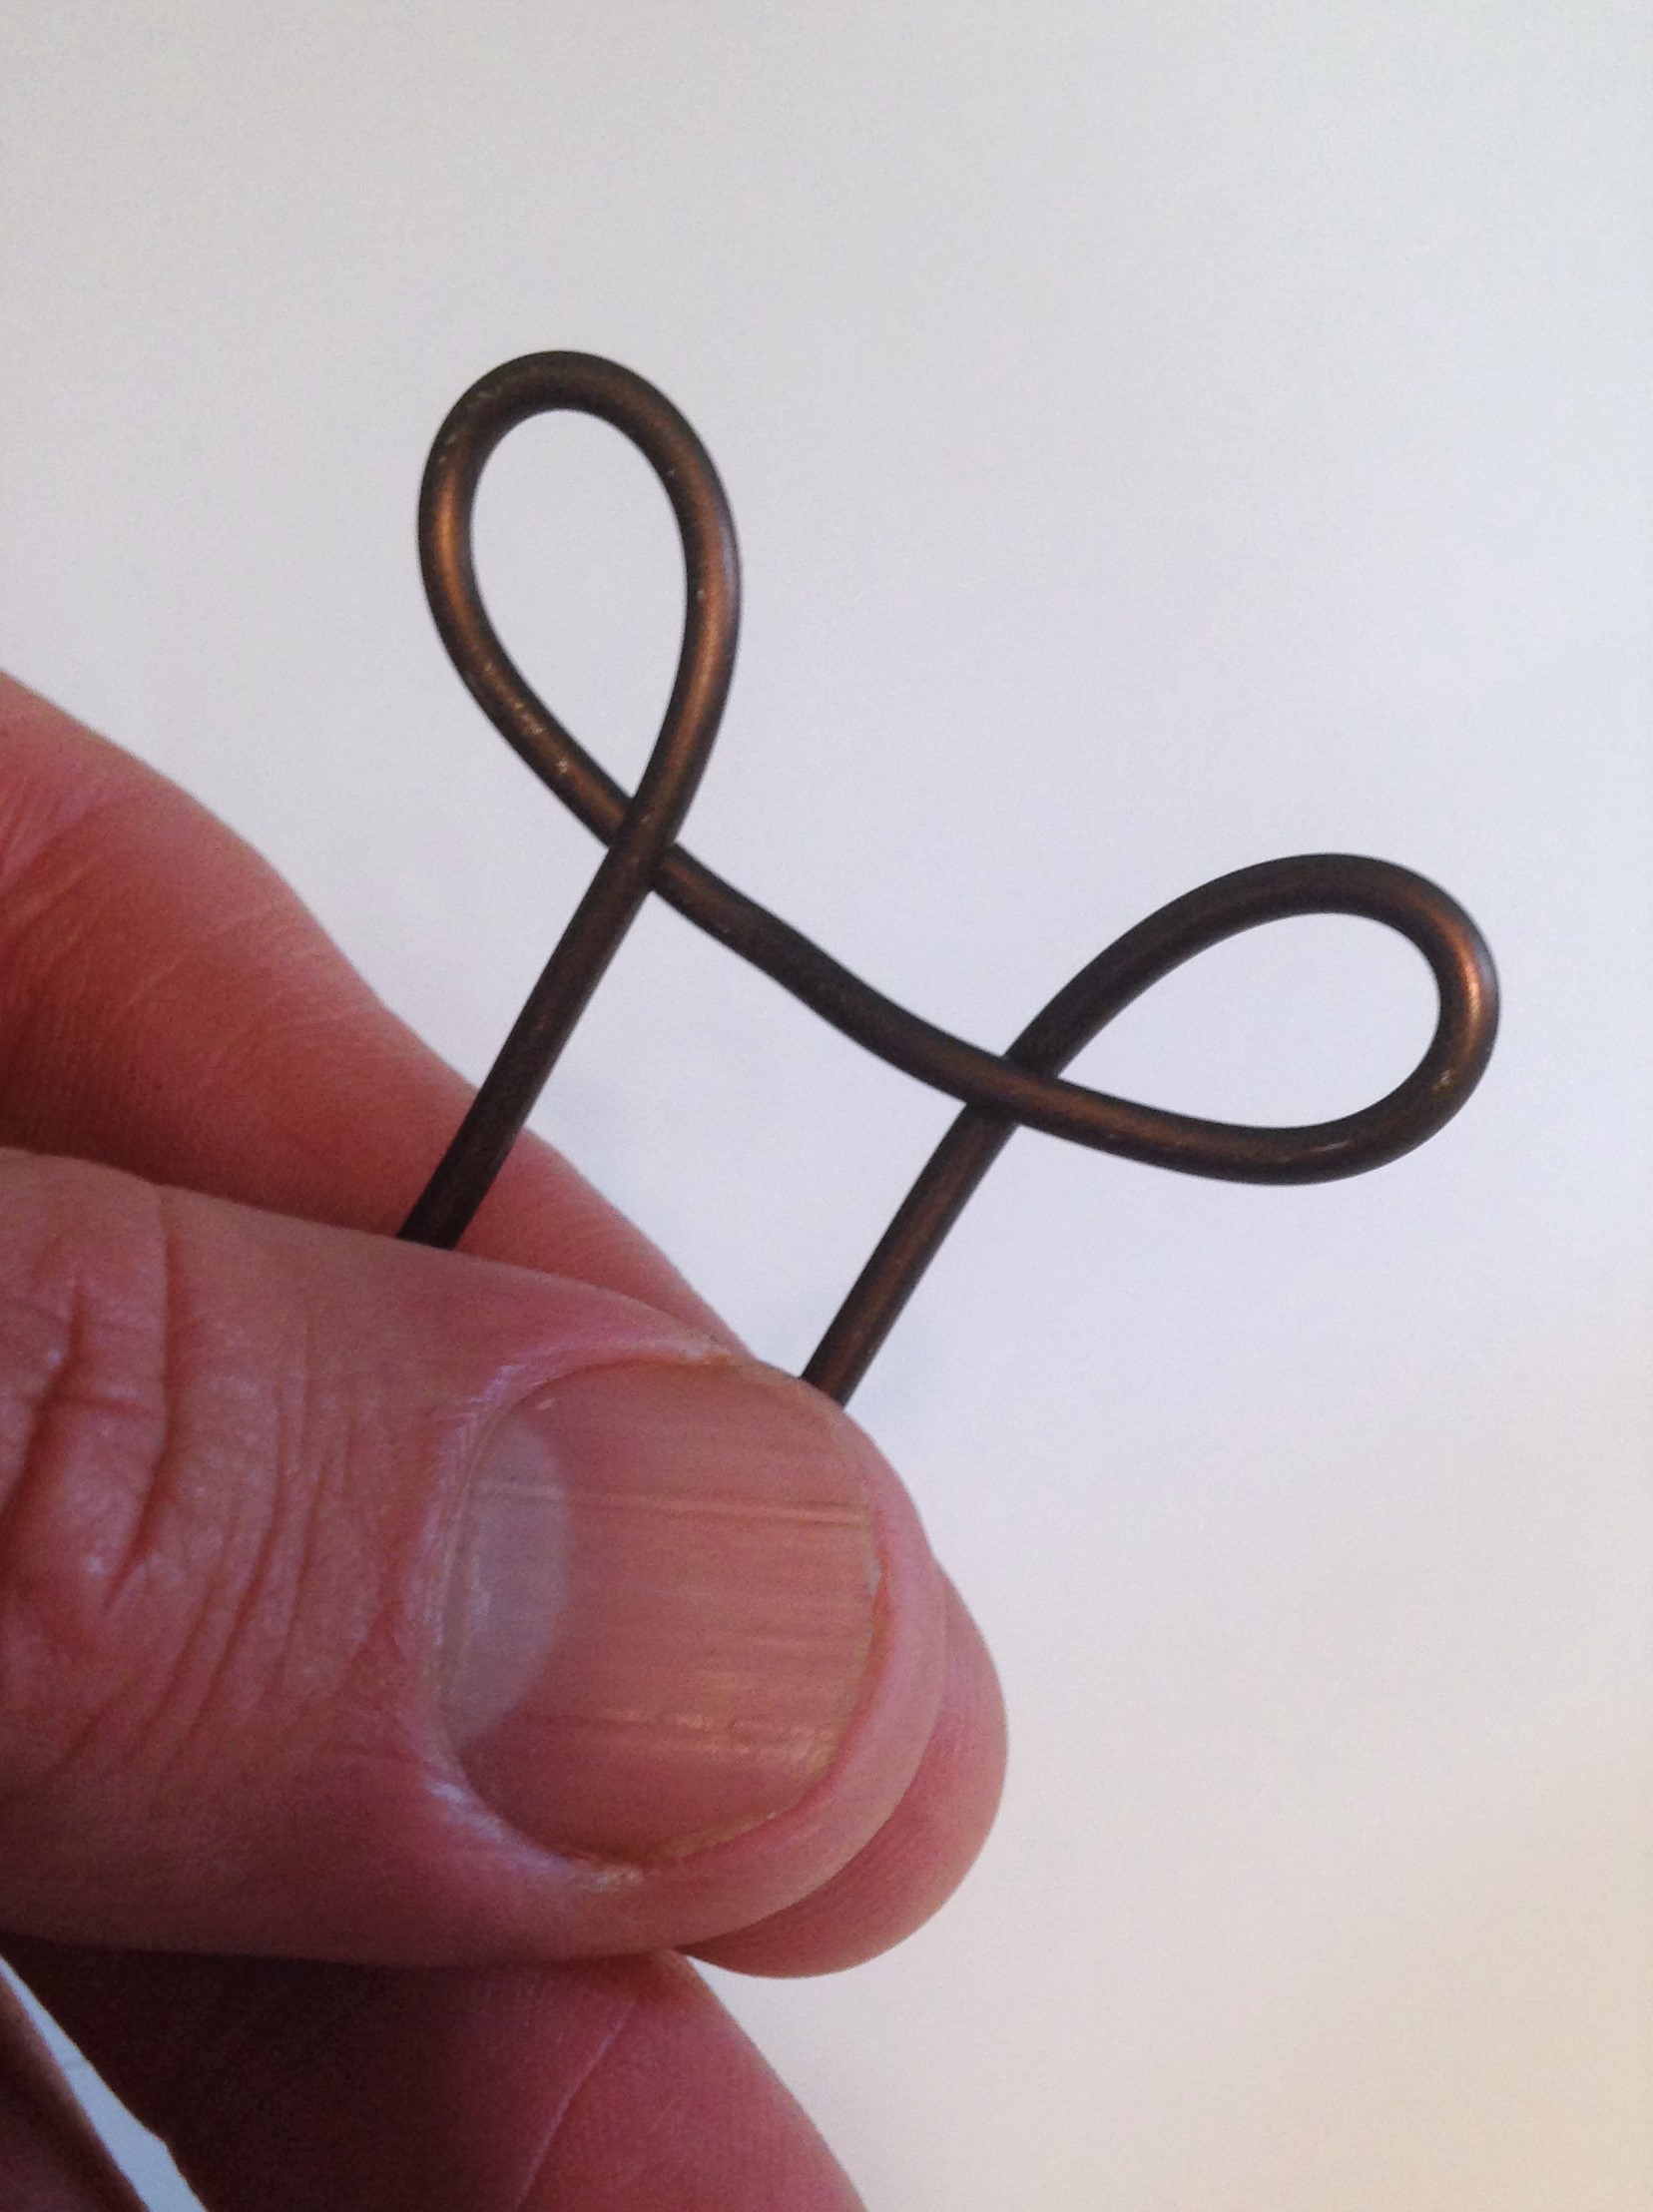
Step Four: The next step is a little tricky but if you need help there are pictures to guide you. Essentially you need to fold each wire end over to form little loops that will end up just shy of the hole width. Take one end of the wire and start to fold it as if you were to fold it in half. As you start to get toward the other end, pull the wire downward toward you to form a loop. This can be seen in pictures 6 and 7. Once you have one loop, flip the wire over and do the same thing to the other side. You want the two loops ends on the opposite sides of each other (pictures 8 and 9). You will know you did it right if one loop wire goes in front and one loop wire goes behind. Place aside for now and be sure not to trim the ends!
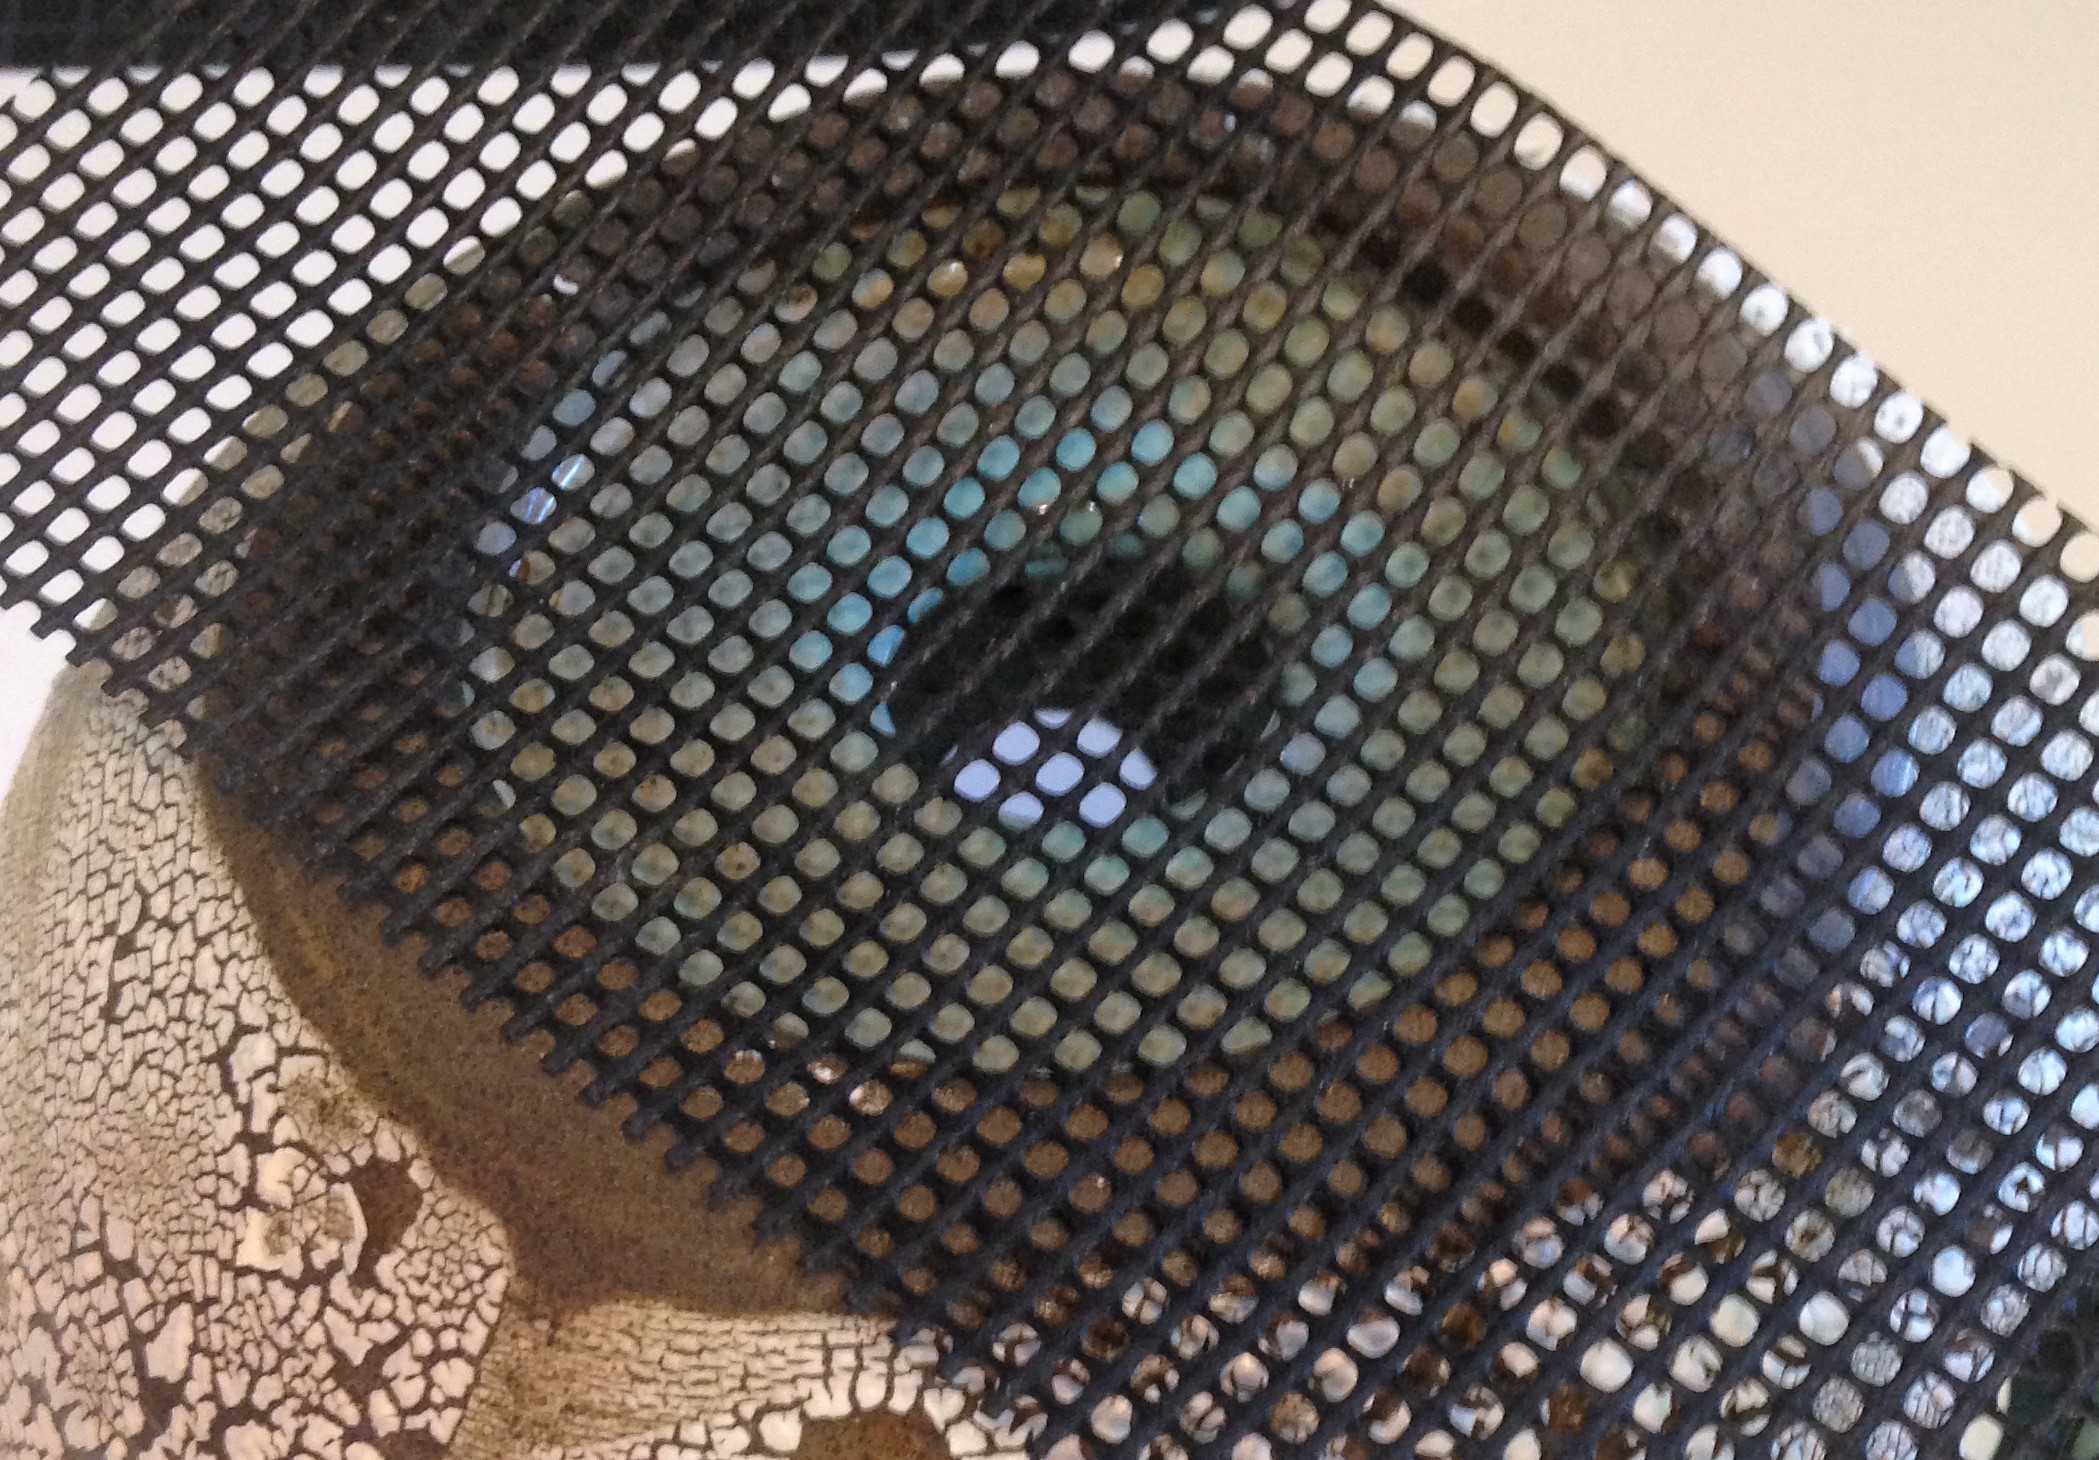
Step Five: Place the plastic mesh inside of your planter up against the drainage hole.
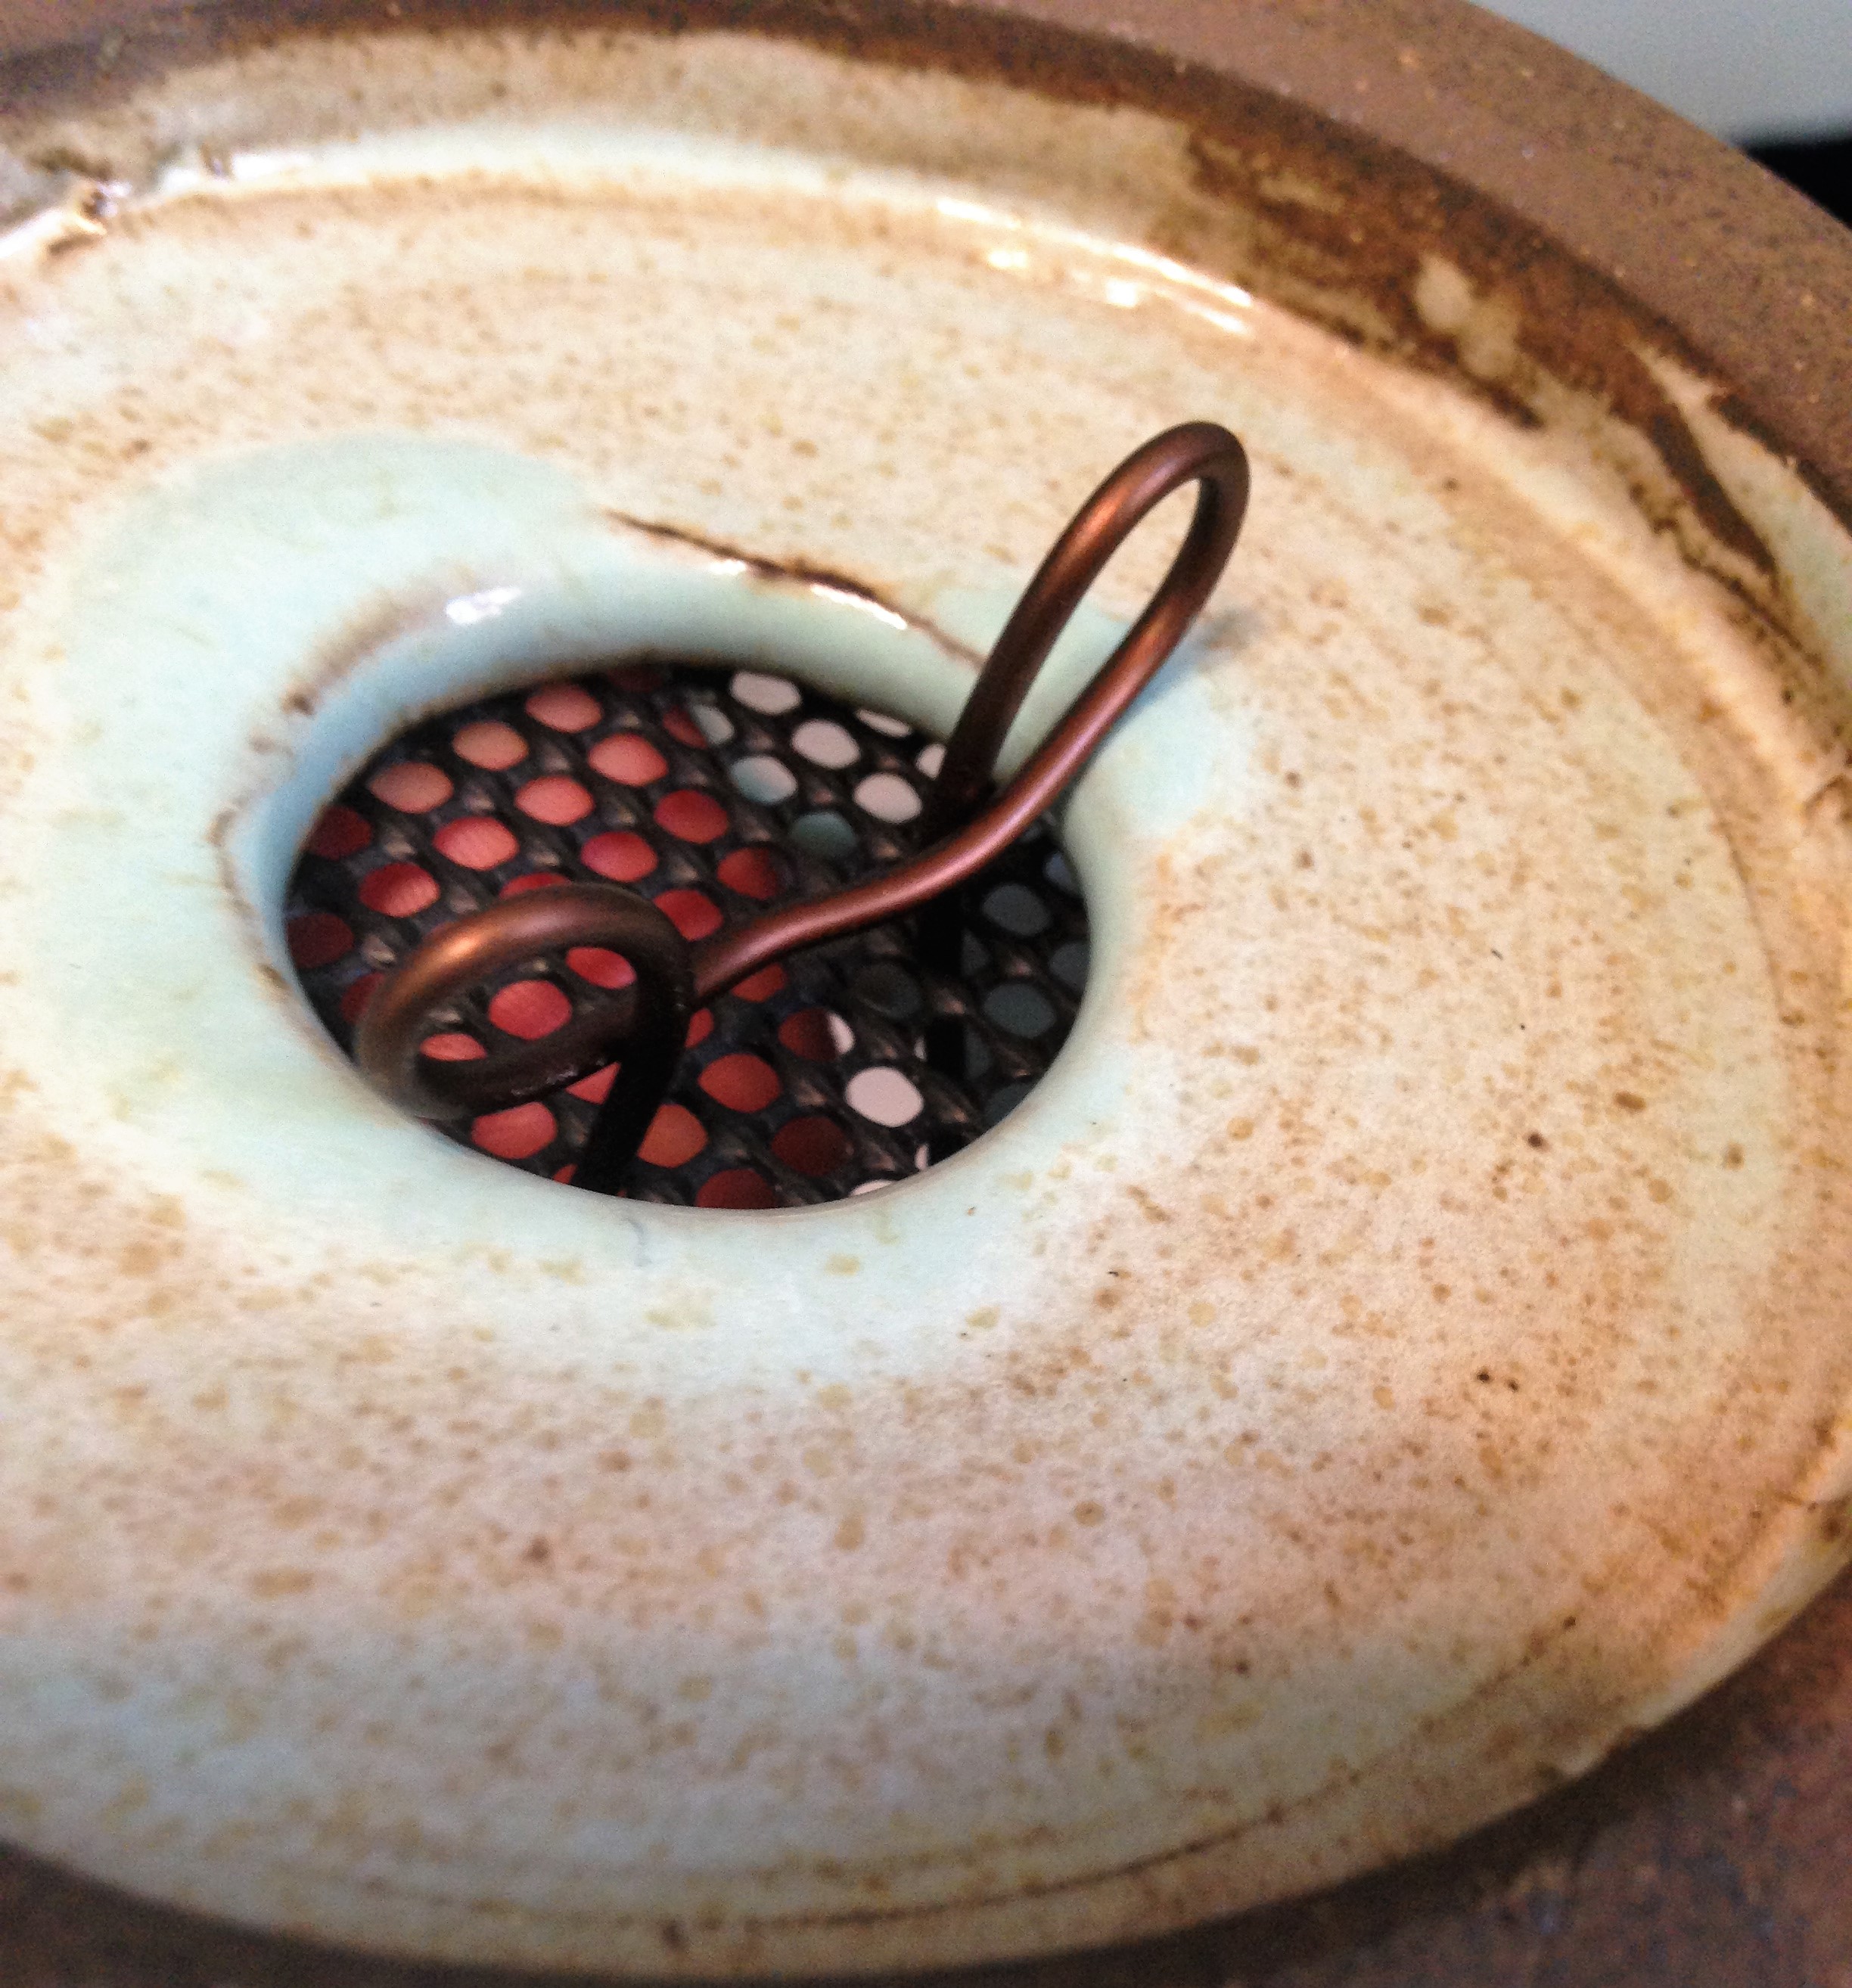
Step Six: While holding the mesh in place with one hand, turn the planter over to expose the bottom of the pot. Place the pointy ends of the wire (that you made the loops with) through the little mesh holes and into the pot. Make sure that the loops are near the edges of the drainage hole, so that when they get put in place, they reach the sides of the planter.
Step Seven: Twist/push the loops down so that they lie against the bottom of the planter to secure the mesh in place, while pushing down the straight ends on the inside, against the pot. Take a look at picture 12 to see how they should look. The reason we wanted the loops to be set up front and back is so that when you push down on the loops they don't open back up. If they both faced the same way, when you twisted the wire, one loop would come undone.
And that's it, you're done! Fill your planter with whatever soil you like and relax knowing that your succulent plants have plenty of drainage, even if you accidentally over water them. If you're looking for nice ceramic planters that have these larger drainage holes, take a look at our shop here. Any of the planters we have can be modified to have the larger drainage holes, so feel free to give it a try!